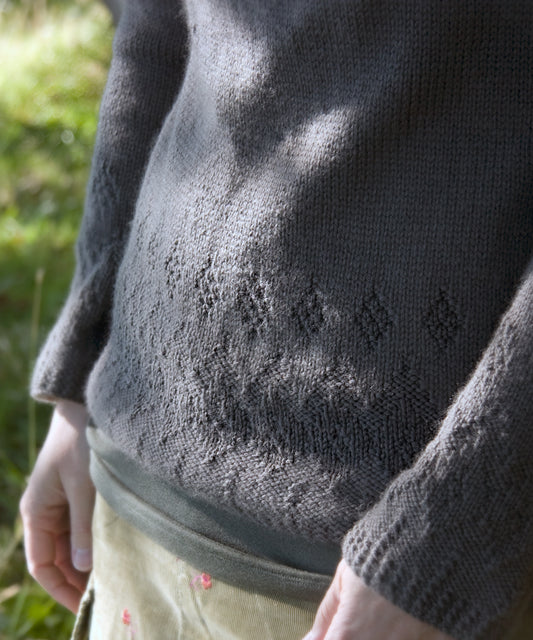
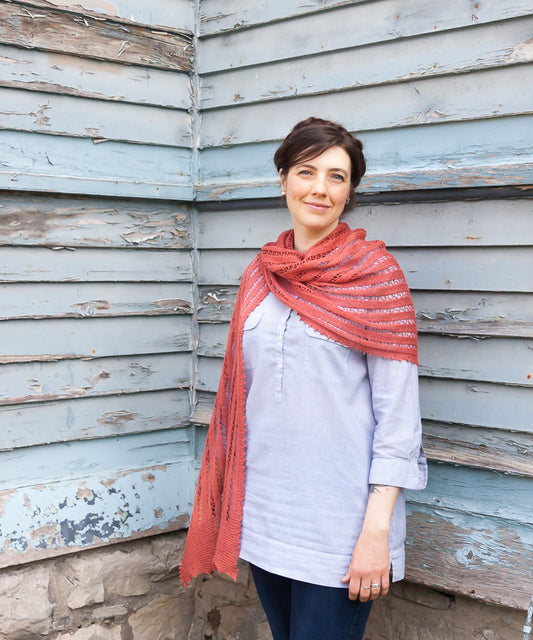
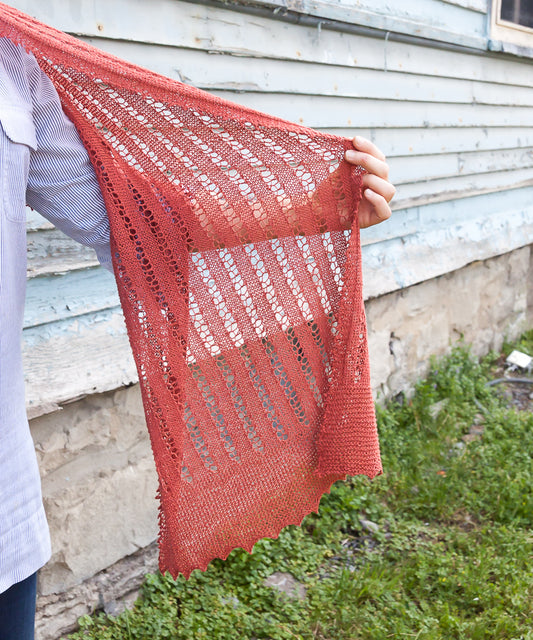
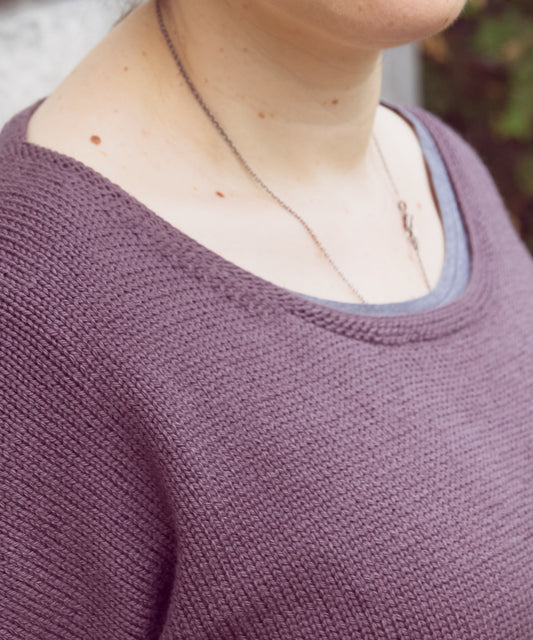
10+ years of designs
-
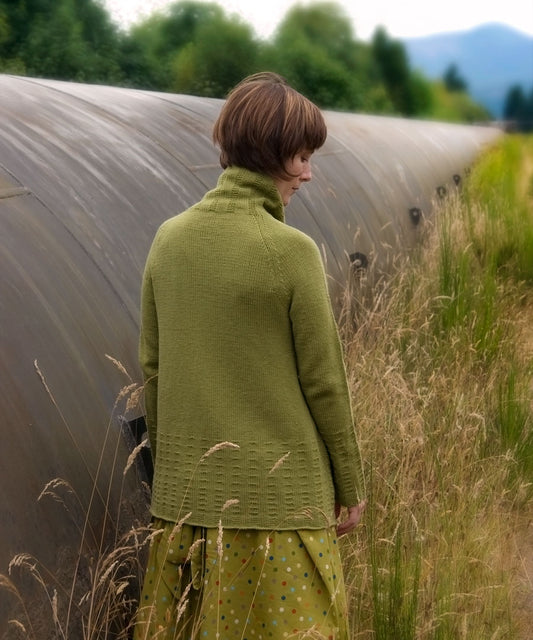
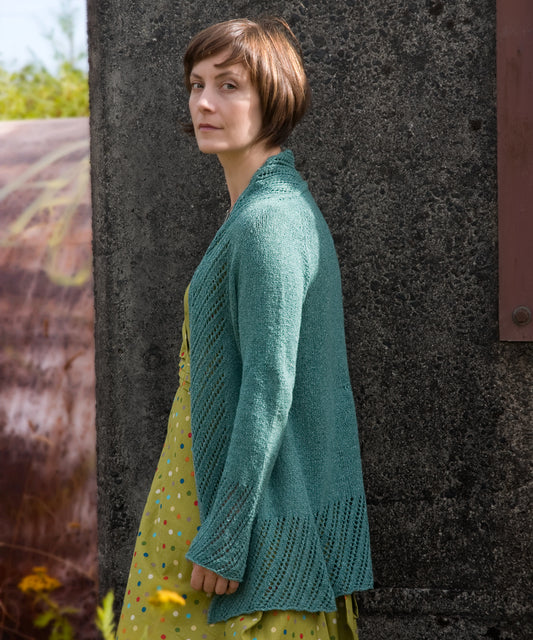
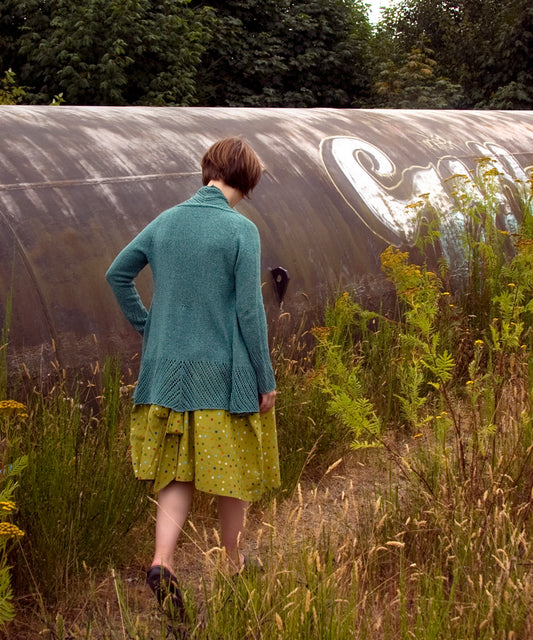
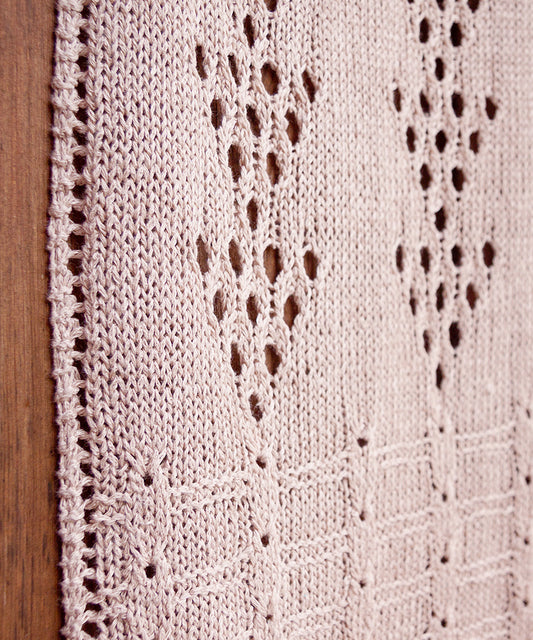
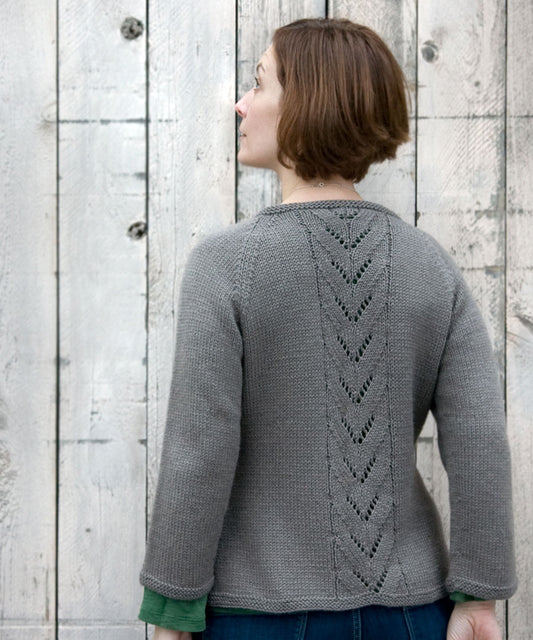
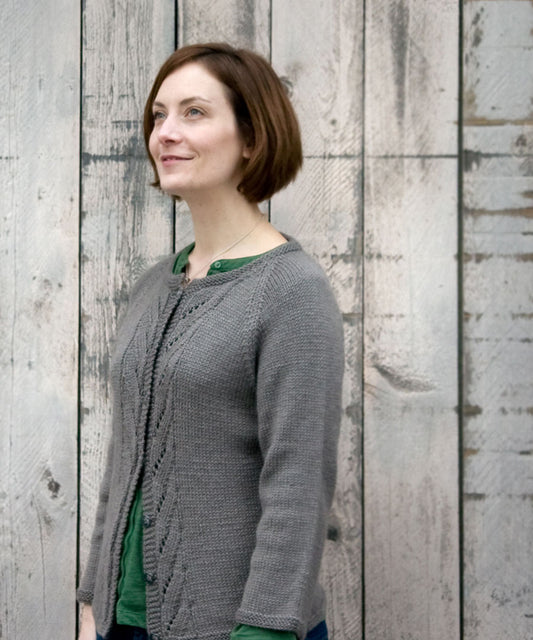
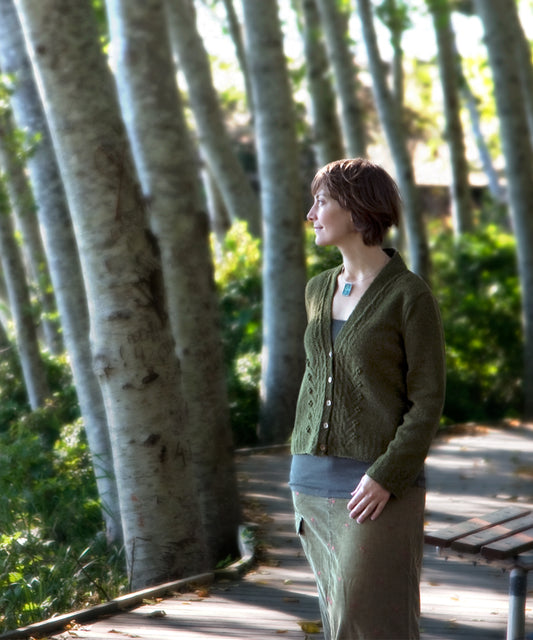
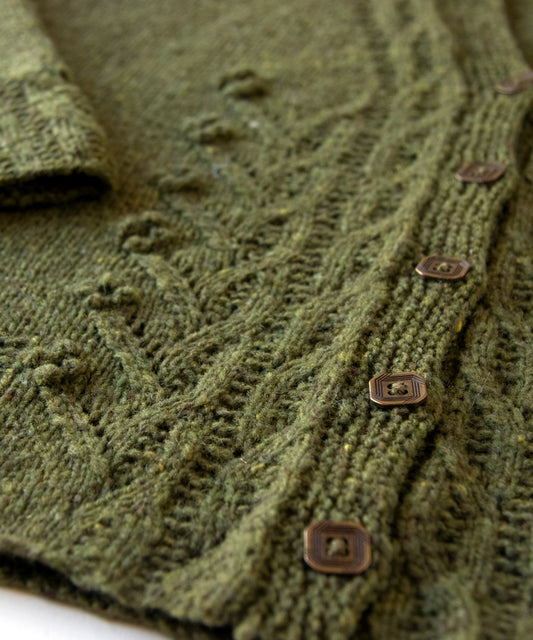
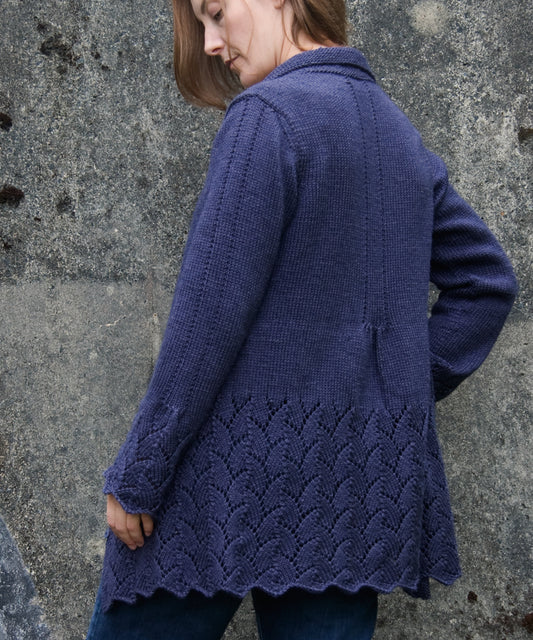
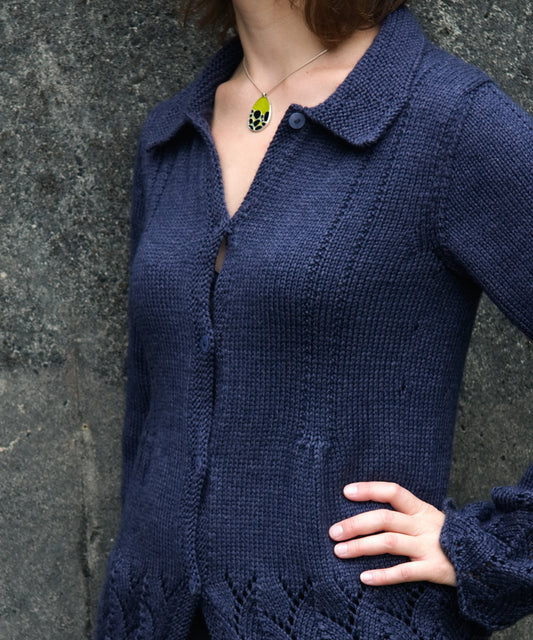
Arbois Cardigan
Regular price $7.00 USDRegular priceUnit price per -
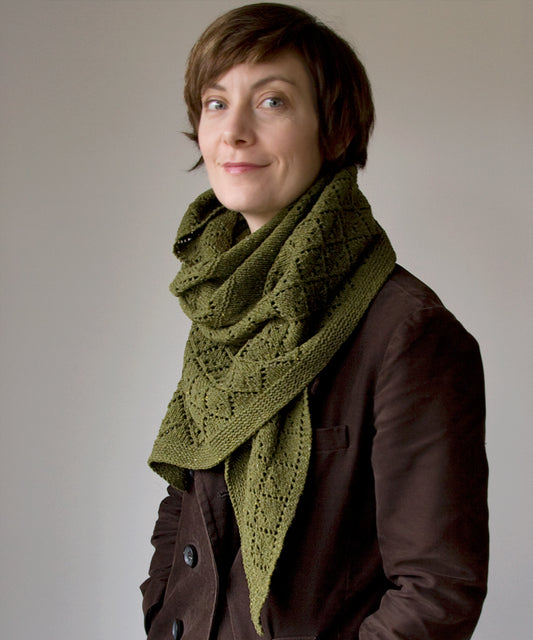
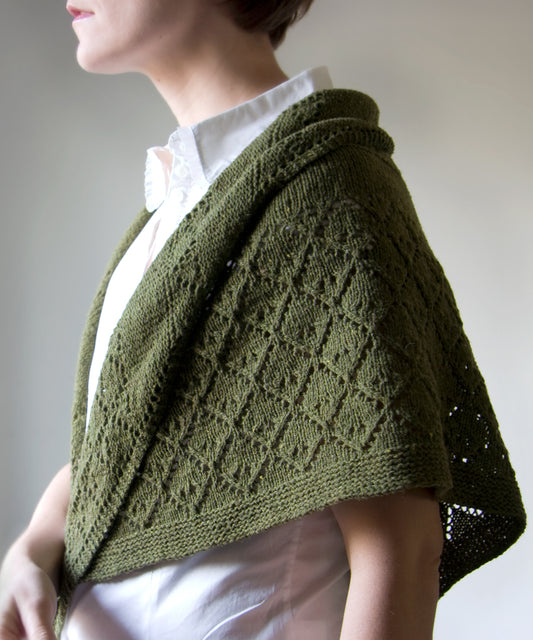
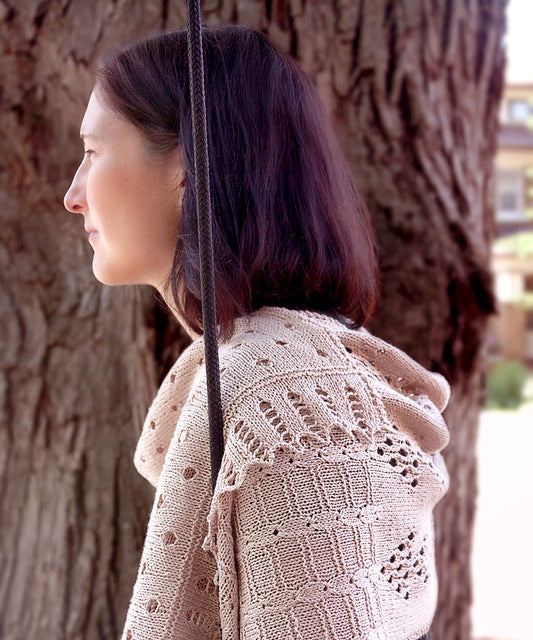
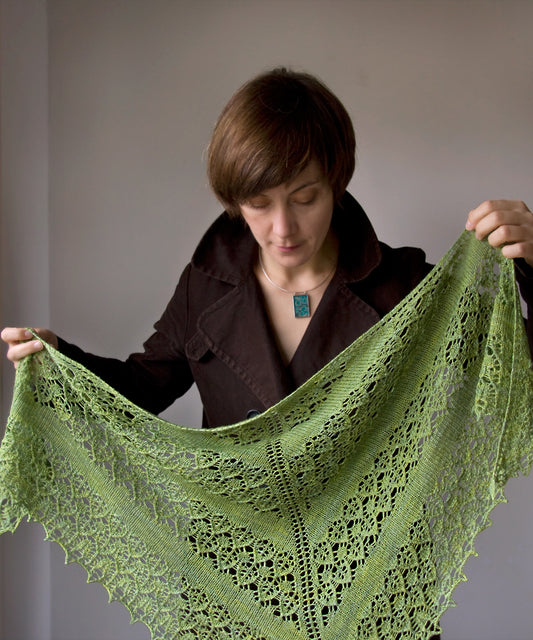
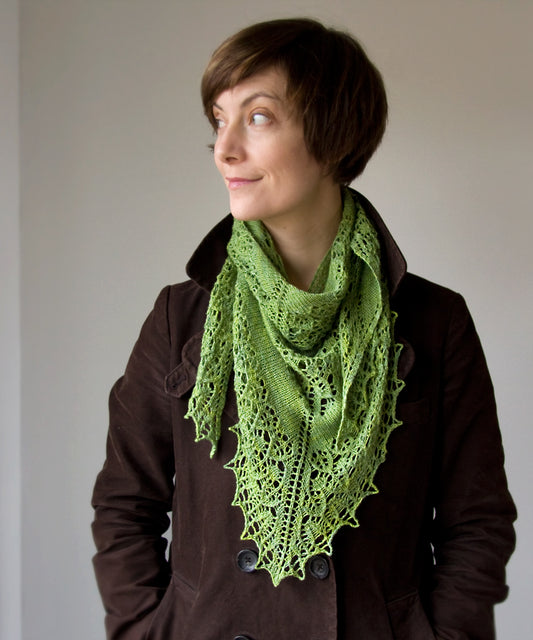
Arimono Shawl
Regular price $7.00 USDRegular priceUnit price per -
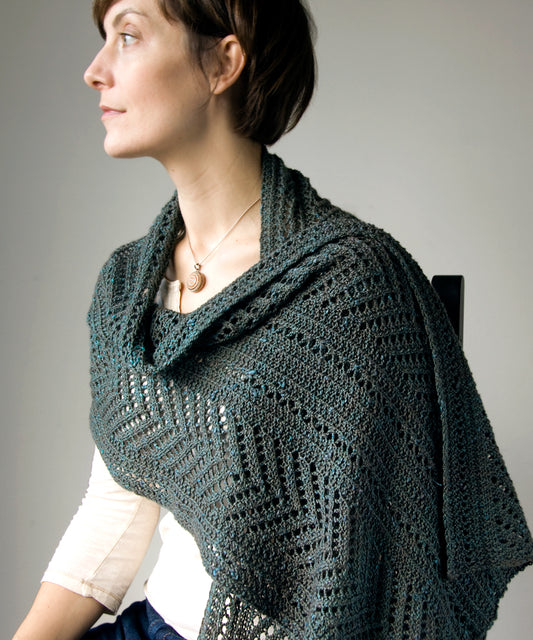
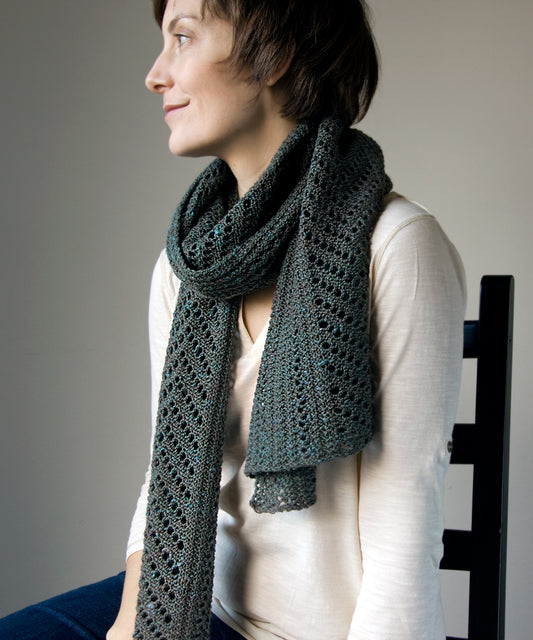
Boiseau Wrap
Regular price $7.00 USDRegular priceUnit price per -
Clairette Cardigan
Regular price $7.00 USDRegular priceUnit price per -
Claro Wrap
Regular price $6.50 USDRegular priceUnit price per -
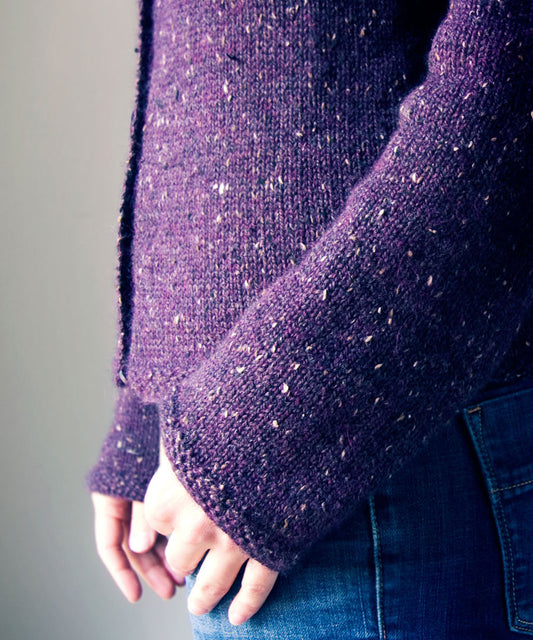
Cordova Cardigan
Regular price $6.50 USDRegular priceUnit price per -
Cultivar Cardigan
Regular price $7.00 USDRegular priceUnit price per -
Fifth Street Jacket
Regular price $6.50 USDRegular priceUnit price per -
Fledge Shawl
Regular price $6.50 USDRegular priceUnit price per -
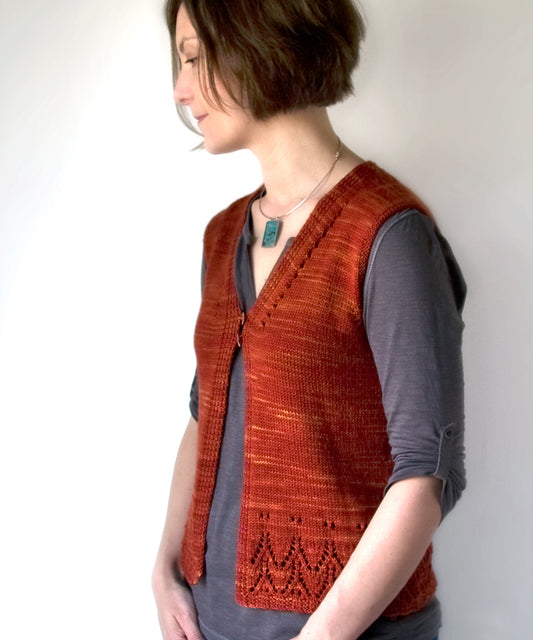
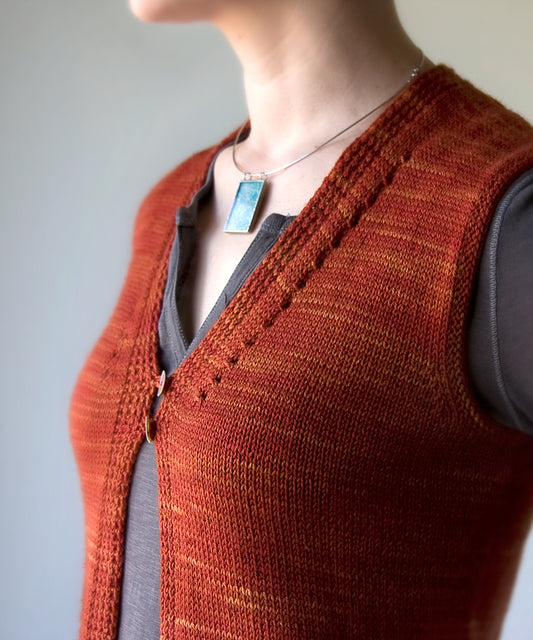
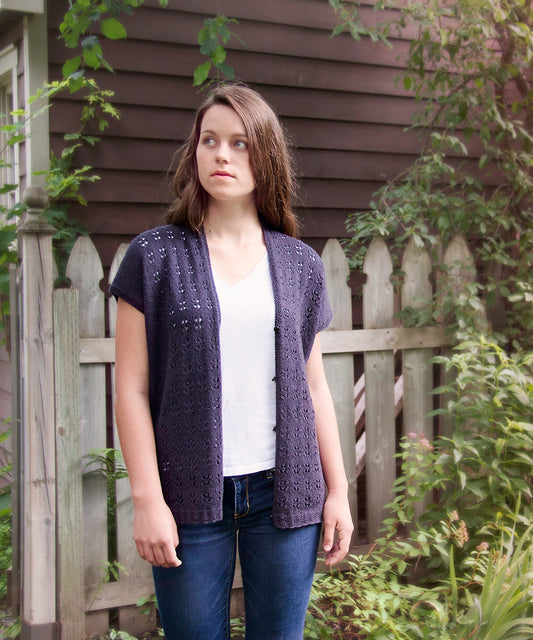
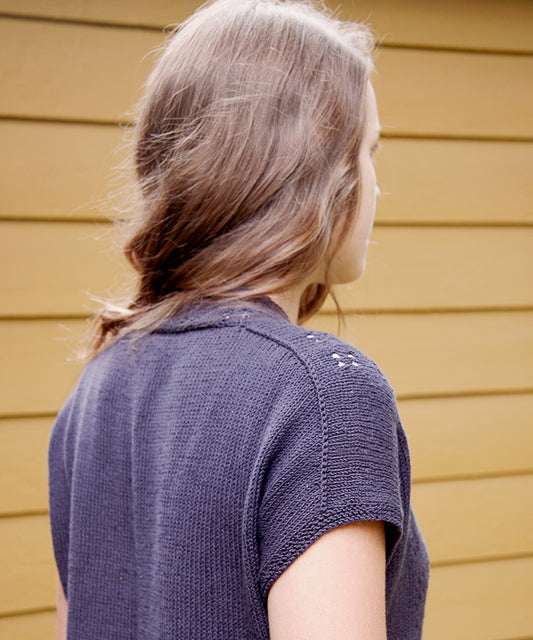
Galiano Vest
Regular price $6.50 USDRegular priceUnit price per -
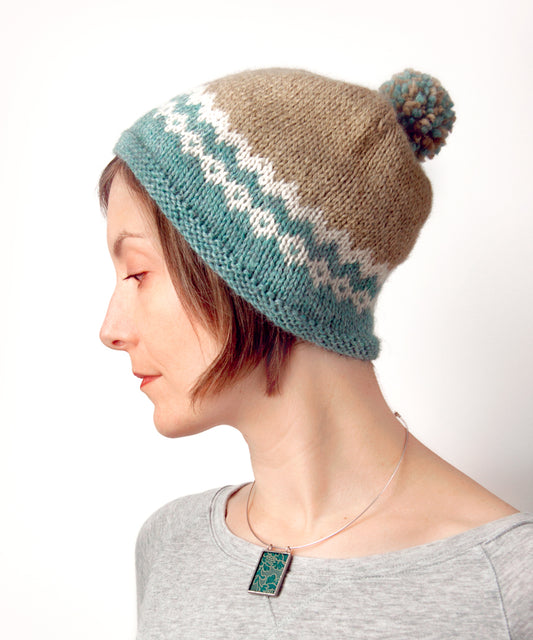
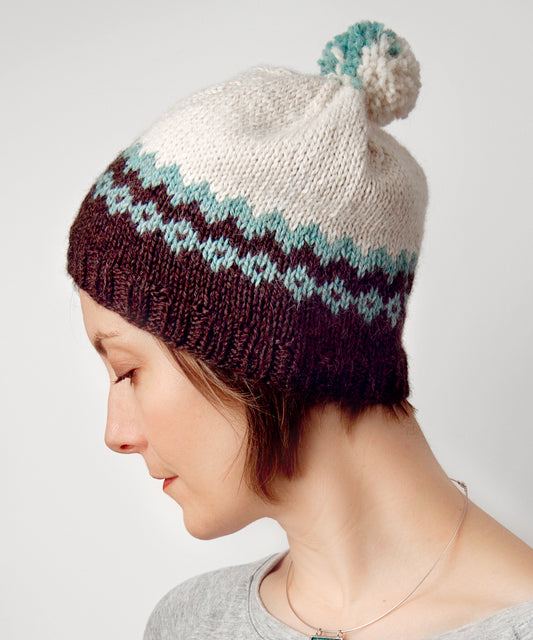
Gatineau Hat
Regular price $6.50 USDRegular priceUnit price per -
Helliwell Cardigan
Regular price $7.00 USDRegular priceUnit price per -
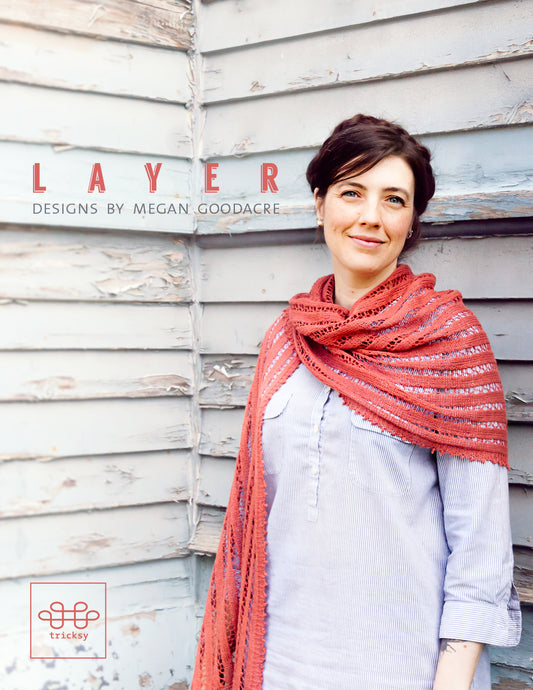
Layer Collection - 5 Patterns
Regular price $19.99 USDRegular priceUnit price per -
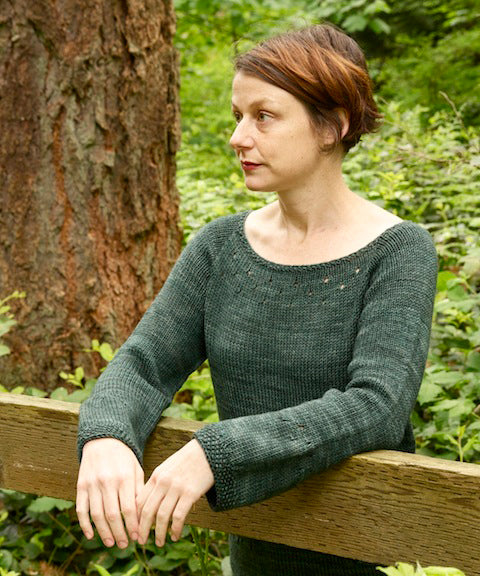
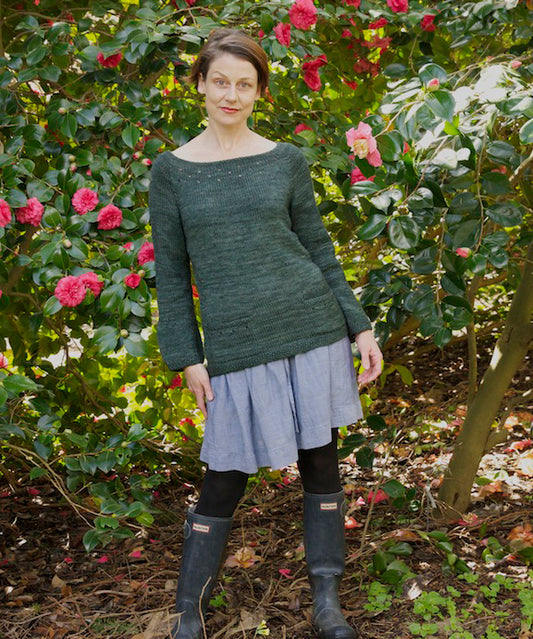
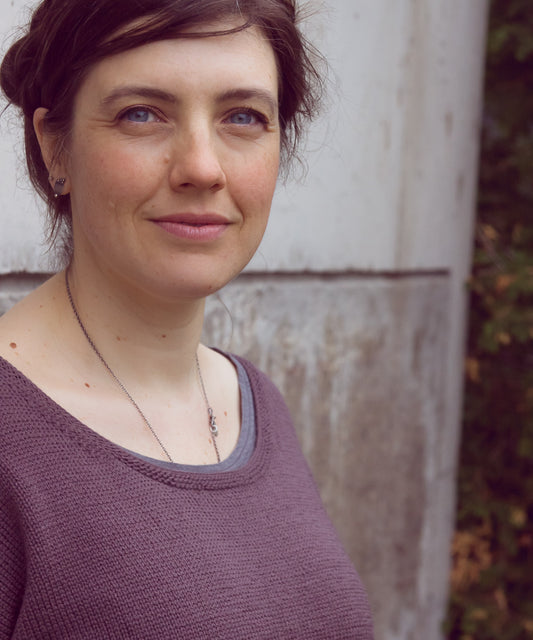
Lundell Pullover
Regular price $7.00 USDRegular priceUnit price per