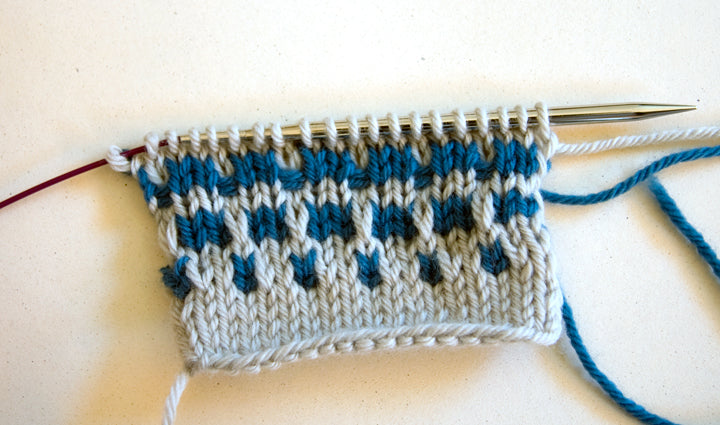
In Part I, the slipped stitches aren't very obvious. You don't notice, without looking closely, that the cream stitches are stretched vertically. But, if you add more contrast colour, the slipped stitches become more obvious. Look at the contrast band, second from the bottom (top image). That shows k2, slip 1, and now the cream stitches look more pronounced.
Now, what if we slip the stitches with the yarn in front? You'll see the strand right? I think we're so used to hiding our strands and weaving in our ends, that we don't think to use the strands as a visual feature. In the example third from the bottom, we k2, slip 1 with the yarn in front, which creates a woven effect.
And, in the fourth example (the textured rows at the top in the image below), we simplify the idea of using slipped strands as texture. Using only the main colour, k2, slip 1 with yarn in front.

Once you get into the idea of slipping stitches, it's fun try other yarns that you wouldn't usually mix together. Below, I've added a fine silk/kid mohair yarn. The main colour provides the structure, and the mohair adds a bit of texture and transparency.

And the hidden surprise of slipped stitches is what happens on the wrong side. This is what gives the Henning Cowl it's woven texture.
